DIY Outdoor Showers: Yay or Nay?
Stephens Plumbing
January 20, 2020
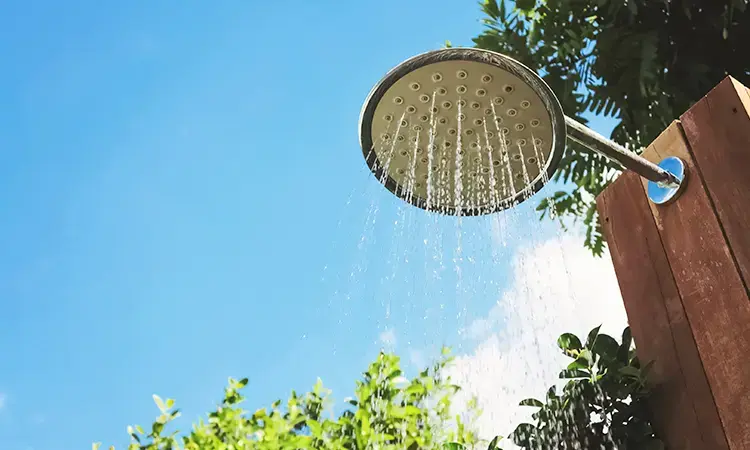
Taking Showering Outside
Summer may be a ways away, but it’s time to start thinking about the warmer months. With the upcoming season filled with lake visits, beach trips, and sand galore, you may be wondering, “Can I DIY my own outdoor shower?” Outdoor showers can be a great investment, and help keep your house much cleaner. When considering DIY-ing your own shower, it’s good to go over a couple factors. How complex is the project? How much are you willing to spend? Is the exterior of your house going to be altered? Read on for some tips from Stephens, and call us if you decide DIY isn’t for this time!
Determine Drainage
Most outdoor showers don’t require a large amount of drainage, in part because they’re used during hotter months and also because we simply don’t spend as long showering in them. An important factor in placing your shower is figuring out where exactly water will go. The most eco-friendly option is to allow runoff into a nearby garden, but you should make sure it drains quickly and without affecting your home’s foundation. If a garden isn’t an option, it’s best to contact one of our professionals at Stephens for advice on installing a French drain, dry well, or fixed drain.
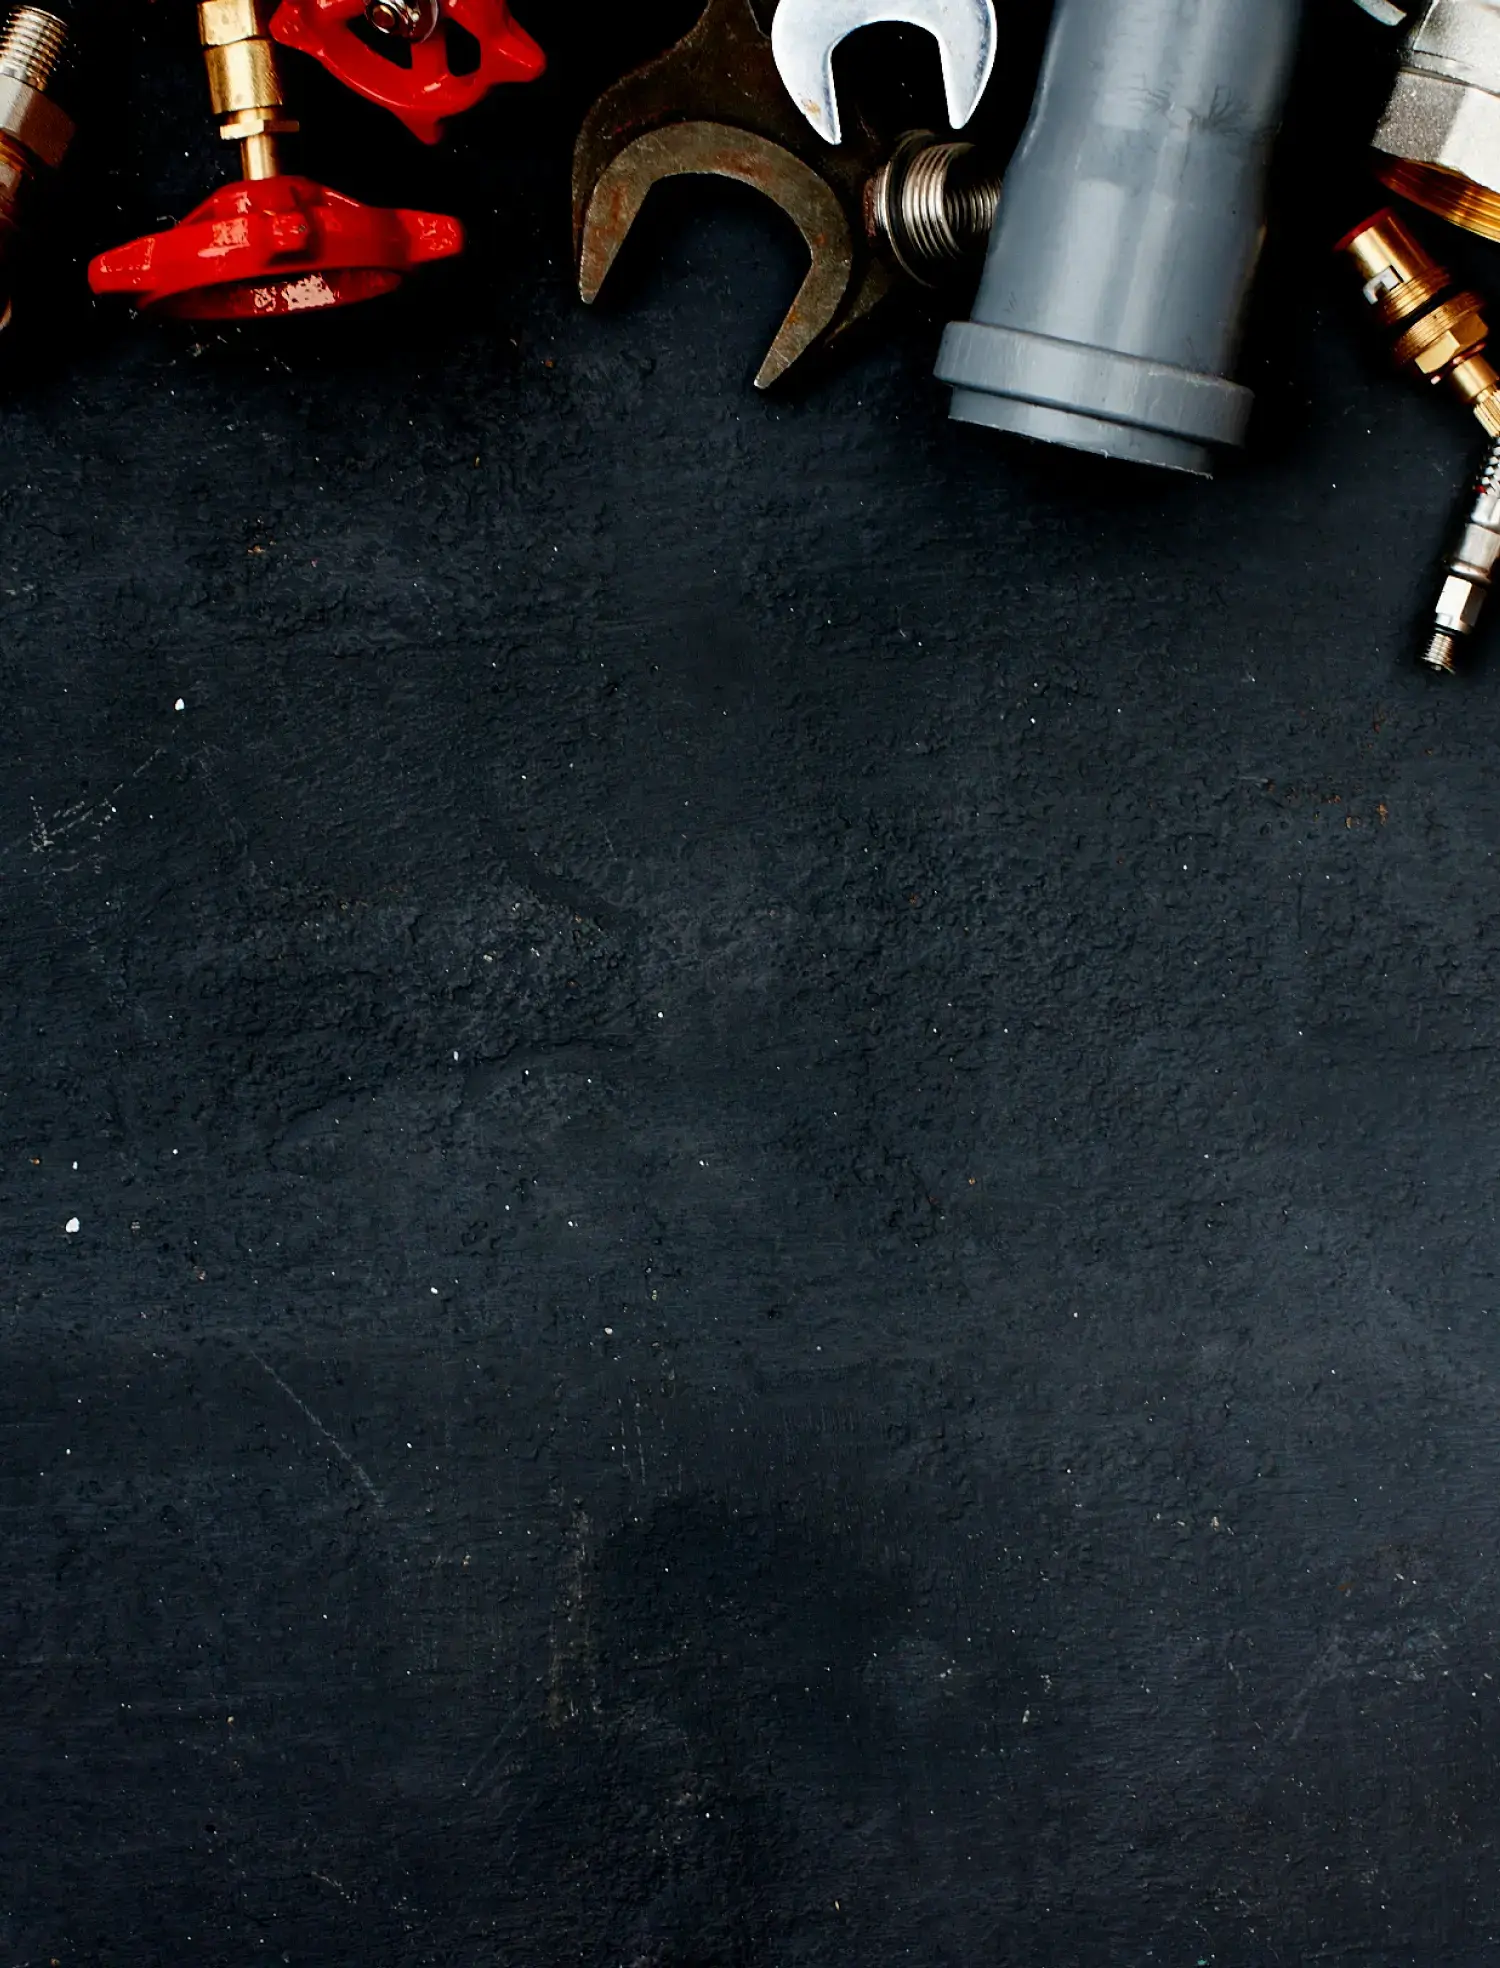
How to Install Your Own
Installing a simple outdoor shower is certainly possible, but can also be complicated and overwhelming. The following briefly address the steps for building your own, and should help you determine if installation is within your skillset!
Assemble the Pieces
The first step to creating your own outdoor shower is connecting a pipe to the bottom of a ball valve, which will serve as the faucet. Attach a second pipe to the top part of the ball valve. Teflon tape is usually used to help reinforce the connection of the pipes, preventing leakage. At the top of the unit, an elbow should be attached, facing the same direction as the valve handle. This will later hold the shower head.
Paint the Pipes
If desired, painting the pipes to match the exterior of your home should occur at this step. You’ll need to remove the handle of the ball valve before painting to avoid painting it stuck. Most people tend to use spray paint on the piping.
Determine Placement
Mark on the wall where you intend on attaching the shower pipe. Because most DIY showers are simply connected to the garden hose, these markings will serve as an indicator as to where you should drill a hole for the hose to run through.
Connect Water Source
The simplest option is attaching a garden hose to your shower pipeline. However, this does mean only cold showers. This works for a shower whose purpose is solely meant for washing feet in the summer or rinsing down pets. For hot and cold outdoor faucets, you’ll need to have a plumber install a hookup for hot water next to the cold outdoor faucet.
Final Assembly
After connecting the hose, attach the piping to the wall. Secure it with pipe clips. The valve handle and shower fixture can also be reattached at this point.
Need Help? Call Stephens
If you think you’re ready to install your own outdoor shower, make sure to gather some extra online resources before beginning. However, DIY-ing outdoor installations can lead to more problems down the road if not done perfectly. For anyone avoiding improper installation or looking for a more complex setup, including enclosures or hot and cold water sources, it’s time to call Stephens! Our experts have years of experience assessing your setup, replacing existing plumbing, and installing new fixtures. Call today!

Join Our Team
Interested in becoming a part of the Stephens family? Submit your application now for one of our plumbing or HVAC jobs!